Last week the stage manager for Butler at Peninsula Players Theatre asked me after rehearsal, "Greg wants to know if the General would be using a dip pen or a fountain pen." I started to answer and then realized, I had no idea. I told him I would do some research and then get back to them for rehearsal the next day.
In my research I discovered that the fountain pens that we know of today were patented in the 1880s, about 20 years after our play took place. Prior to that though, many companies were creating their own versions of something similar. Designs hadn't been perfected yet and could sometimes be leaky, or write a bit inconsistently, but people were using them. Based on this information I told stage management that the actor was free to make the choice himself.
He decided he would like to have a fountain pen, and then I set to work finding out what that would look like. As it turns out, examples of such pens are very hard to find. I ended up seeing three that all seemed to have this basic design. The body and the nib of the pen were very similar to a recognizable fountain pen (the first image has the nib removed). Then they have the long retracting plunger. It looks to me like this pen would be placed in a pot of ink, and then the plunger would be pulled back to draw the ink up into the reservoir.

m0!~~60_103.jpg)

I was excited about my new knowledge of period pens, but at a bit of a loss for how to make one (purchasing is not an option, the one pictured above is on sale on ebay for $2200)

When scouting around for materials I came across these cheap aluminum knitting needles. I was able to buy several sets in different sizes so I could experiment with one fitting snugly inside another. After cutting a few apart, I discovered this purple and gold combination was the best.

I cut the needles to the length I needed, leaving the end on the purple one.

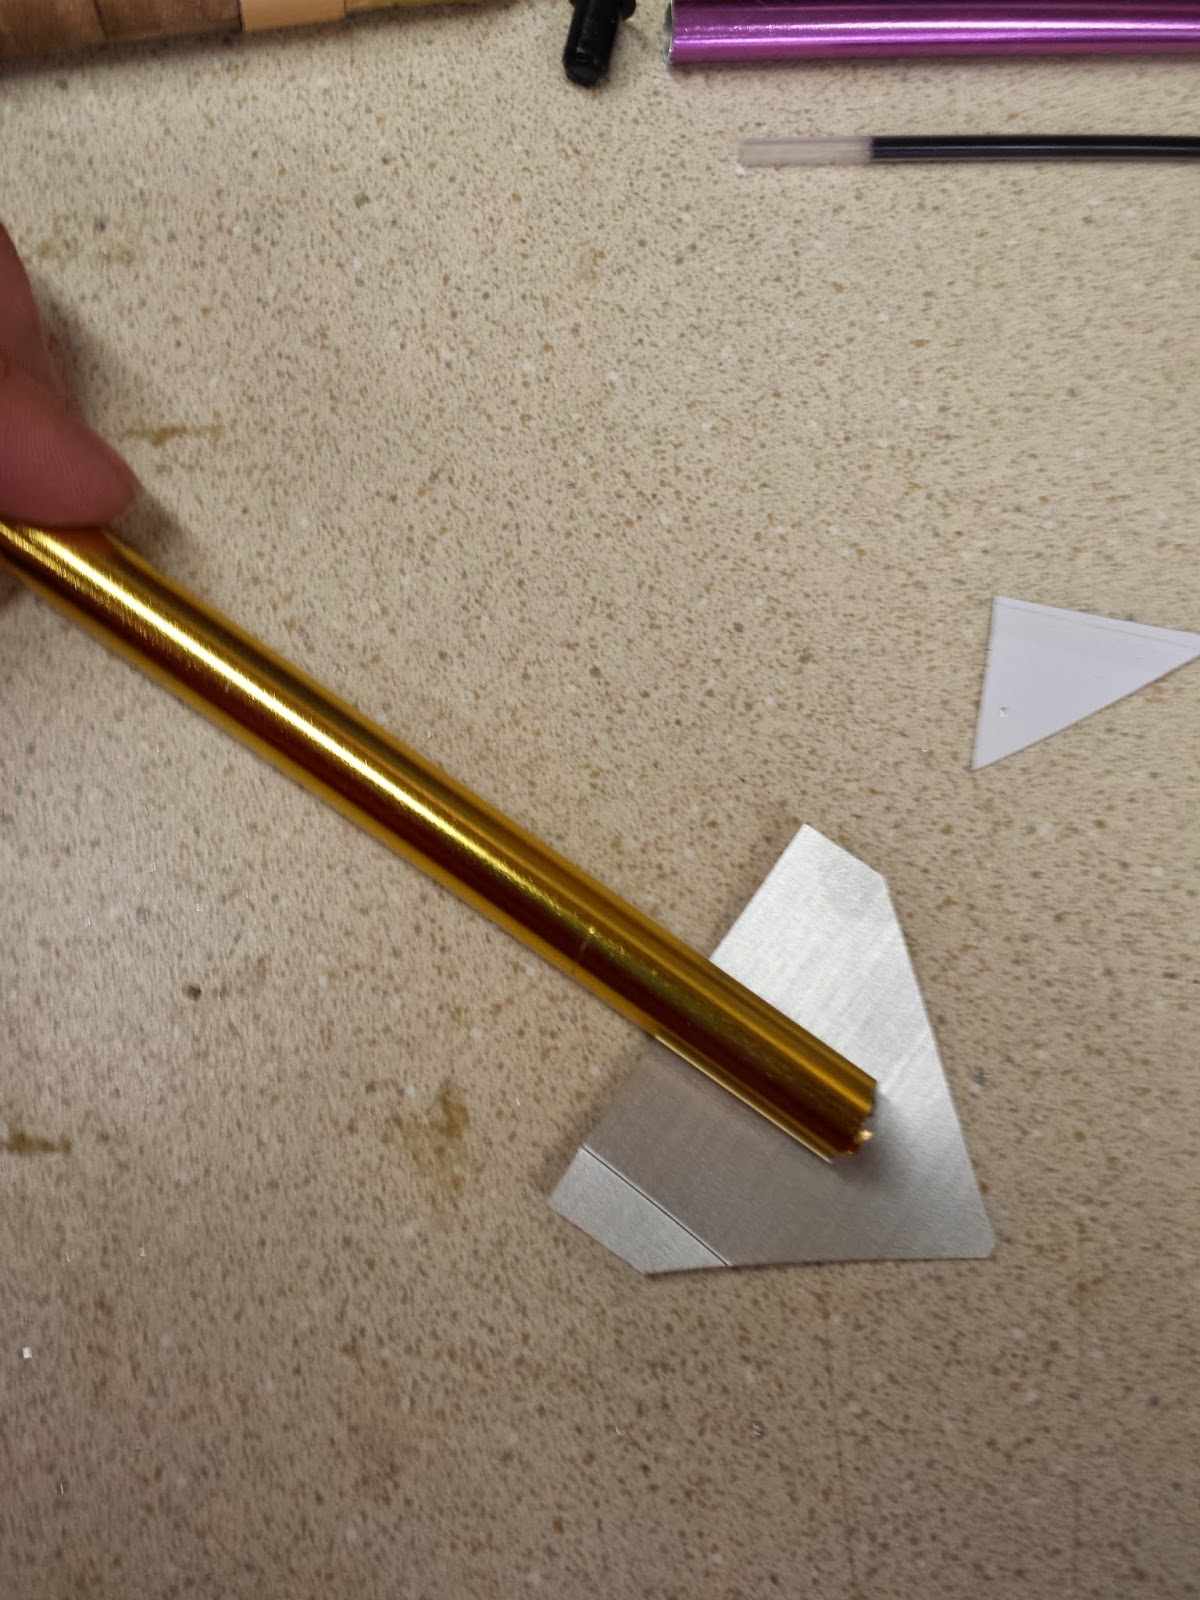
I wrapped the end of the purple needle with just a bit of tape to ensure a snug fit.

We wanted to make sure that our pen was still functional, so I took apart this cheap ballpoint pen to use the ink.

And slid it into the center of the tubes. These photos are from the second pen I made. When I made the first one I had to experiment a bit with the length of the tubes so that inner purple tube didn't get caught on the ink after it was pulled out.

I simply wrapped the tape around the pen base to form a fairly convincing nib.

I then filled in the nib with hot glue, to make the nib more sturdy and to hold the ball-point ink in place.


Like so

Then used strips of the same gold contact paper to add these three stripes.


Here are the two finished pens, and below is the research image. Not very far off, and from a distance, rather convincing.


No comments:
Post a Comment