Cyrano opened at The House Theatre this weekend. There are very few props in this version of the play, so we were able to devote significant budget and time resources to some beautiful practical lighting.
We did a lot of research into chandeliers and sconces before we came around to these lanterns. We liked the shape of these
little Moroccan lanterns for hanging above the set and the the shape of these
stagecoach lanterns for hanging on posts around the lower part of the set. The problem was that the stagecoach lanterns were too big and the Moroccan lanterns were too small, we needed to switch the sizes.
To start I took the small Moroccan lanterns and cut the bottom off with the cutting tool of my Dremel.
I sanded the sharp edges to round them a bit. It took a while because there were 16 of them, but after that, the small lanterns were done. The big lanterns were another story.

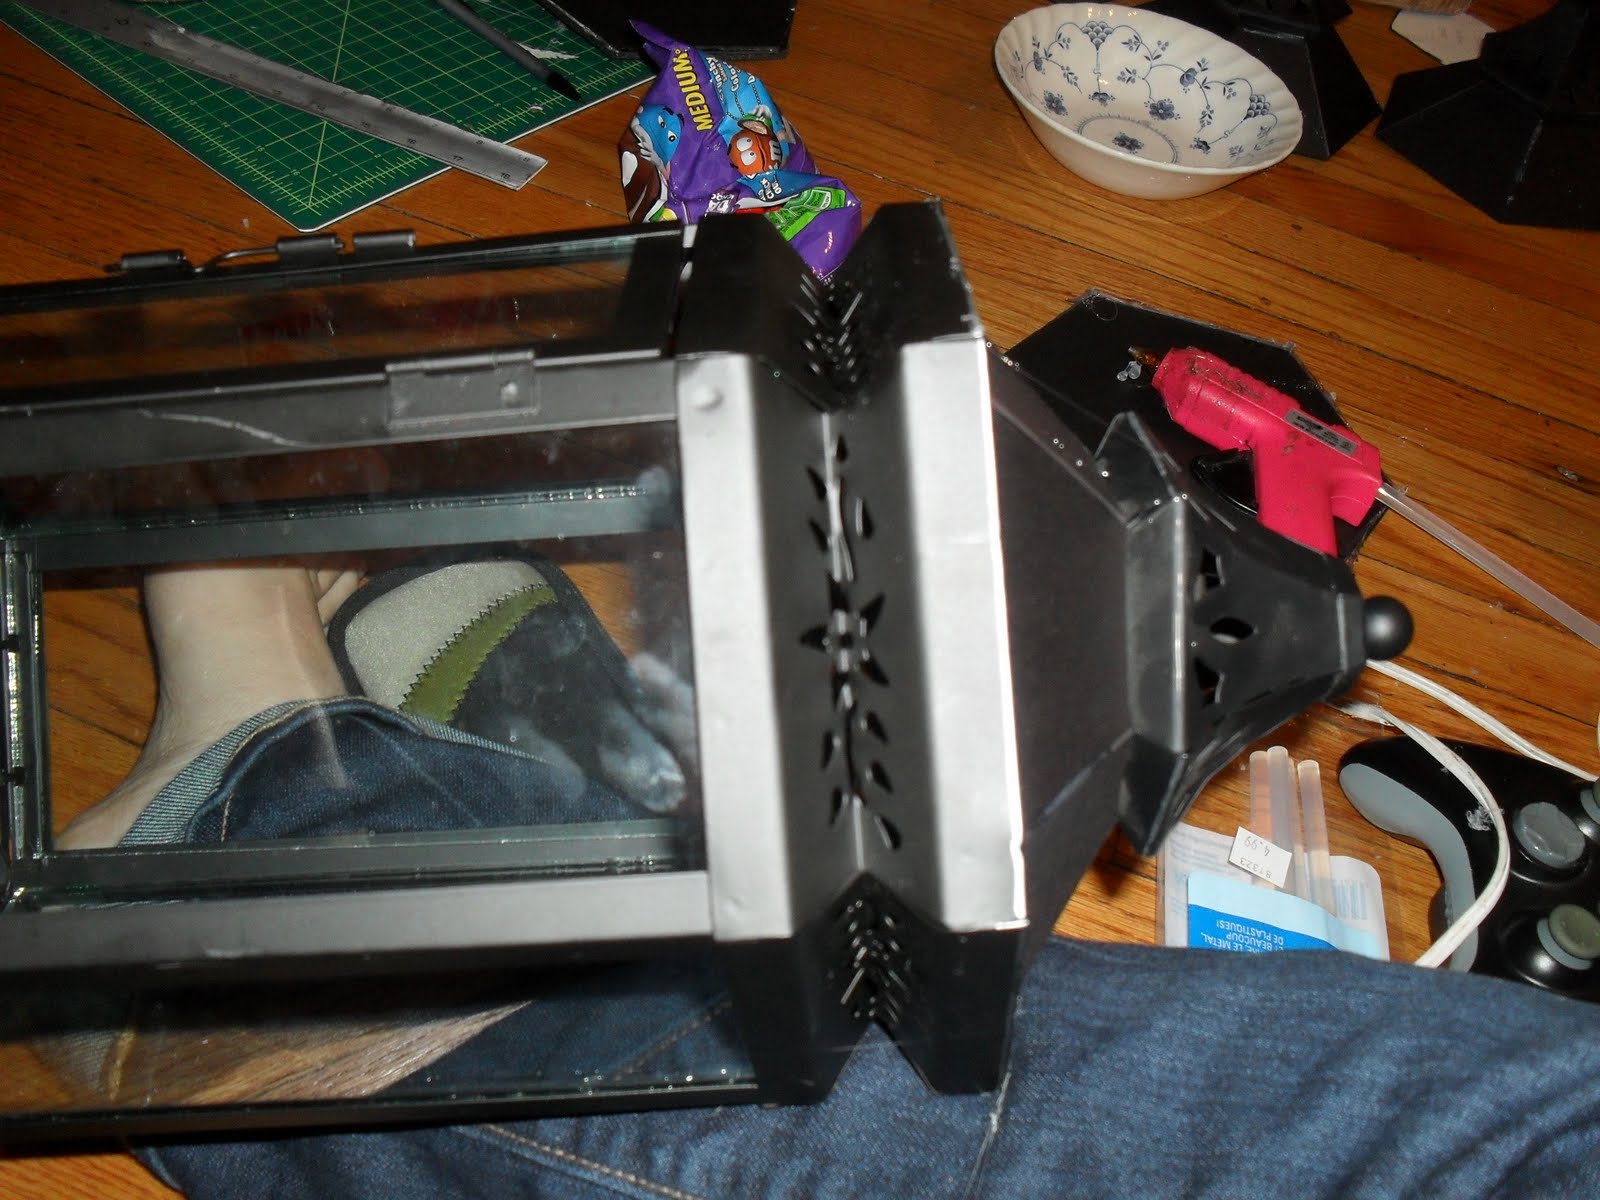
I was going to use the cut off pieces from the small lanterns to extend the large ones, but I needed to build something to bridge the size gap.
I cut pieces from matte board. It took some experimenting to get the math right, but eventually I got pieces with the correct angle to fit together into a hexagon, with sides that matched the large lantern and the small one.
I hot glued the edges together,
and glued my cutoff piece into the center.
Here's a picture from the outside.
Finally I glued the new piece into the base of the large lantern.
I was satisfied with the look of them and handed them off to the electricians to be wired. They got the lanterns wired, hung them and told me everything had worked perfectly, then I got a late night email from the production manager telling me we had a problem. Apparently the heat from the lights in the lanterns, and from all of the other lighting instruments in the air, was re-melting the hot glue and several of my bases had fallen (thankfully not hitting anyone).
I went back in, carefully predrilled through the cardstock and the metal and added screws to hold the pieces together.
and another view from the outside.
I also added a screw through each side at the attachment point to the lantern.
Finally I had to frost the glass to diffuse the light, and hide the modern lightbulbs. The glass needed to be treated in a way that made the lanterns look like dirt and soot and smoke had accumulated over time.
I did a first coat of polyacrylic sealer tinted with just a touch of brown paint.
For the second coat I used black paint mixed with elmers glue and wood glue (to make it cloudier). For projects like this, I find it helps me to go as quickly as possible. If I take my time, the paint can turn out looking too intentional and "designed." By going super quickly I get more natural randomness.
And here is one of the twelve final large lanterns (with a touch of brass paint dry brushed on for texture).


No comments:
Post a Comment